Wallpaper in Wet Rooms: A Surrey Guide
A professional wallpaper installer from Surrey explains how to use wallpaper successfully in bathrooms and kitchens with high moisture levels.
At first wallpaper seems incompatible with wet areas yet modern wallpaper production allows wall coverings to survive in these environments.
People living in Surrey along with South West London residents utilize wallpaper to revamp their bathroom and kitchen areas by using it for splashback decorations because it maintains durability and practical functionality.
Surrey Painters has wallpaper installation specialists who work with London and Surrey customers to install moisture-resistant wallpaper during wet-room projects since they have experience completing over 70 projects involving both period terraces in Richmond and contemporary flats in Kingston. Follow these steps if you want to do it correctly without taking unnecessary risks.
Why Wallpaper in Wet Rooms Is No Longer a ‘Don’t’
Springs from technological advances have changed the production methods for wallpaper that need to handle high humidity. Modern wallpaper no longer requires the traditional methods of steam warping seams or peeling borders.
The manufacturing process uses vinyl-coated solid vinyl and non-woven materials with protective finishes to create products which stand up to condensation and multiple cleaning cycles while meeting UK safety standards.
Most premium vinyl wallpapers pass Class 1 fire performance requirements according to BS 476-7:1997 (Surface Spread of Flame) for domestic use in kitchens and bathrooms. The product data sheets for Cole & Son together with Graham & Brown and Sanderson brands include information about their product moisture suitability.
Achieving success demands strategic placement alongside proper material selection and expert installation rather than avoiding risk.
Where (and Where Not) to Use Wallpaper in Wet Rooms
Safe Zones for Wallpaper
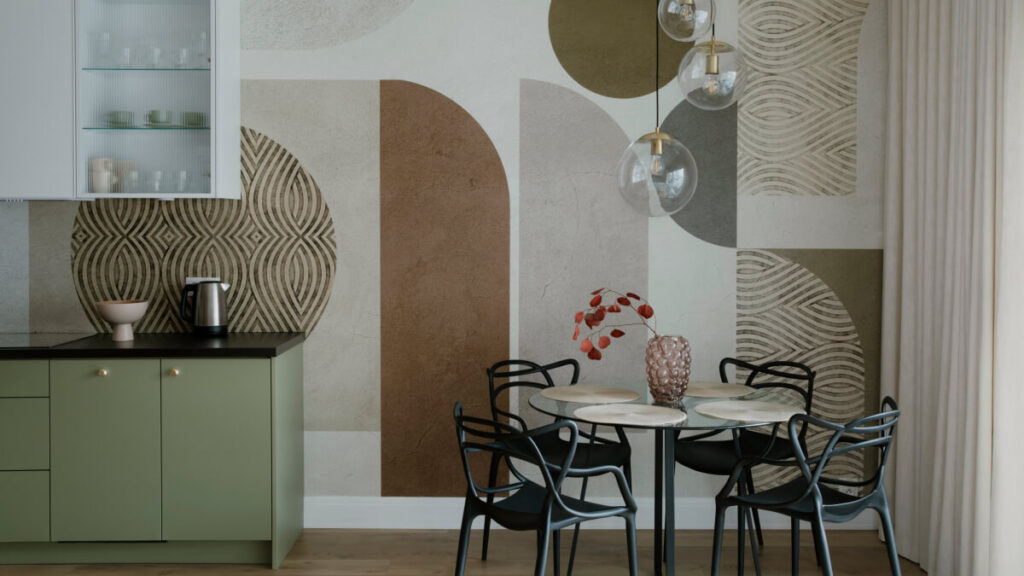
- Above tiled splashbacks (e.g. behind basin or hob)
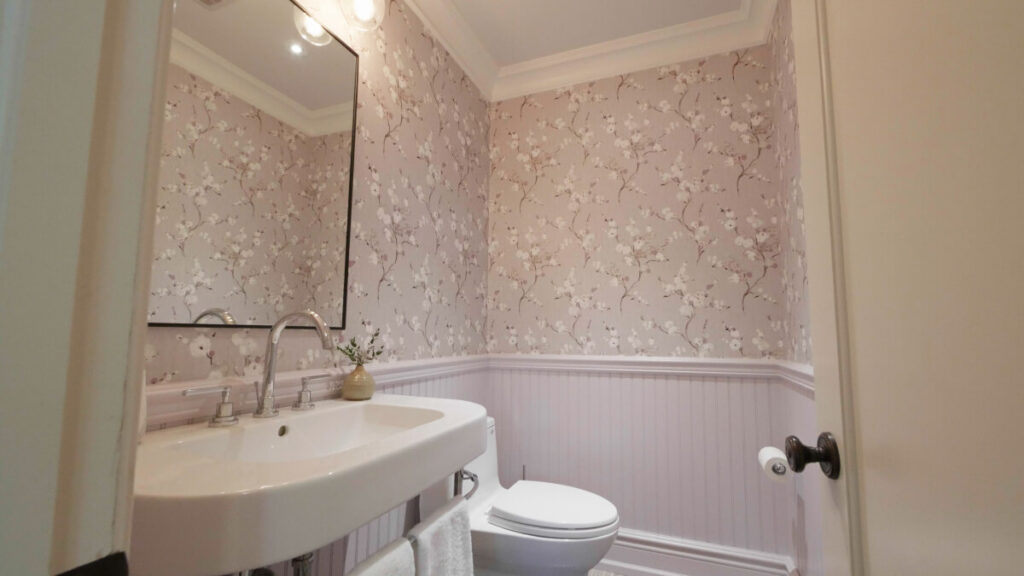
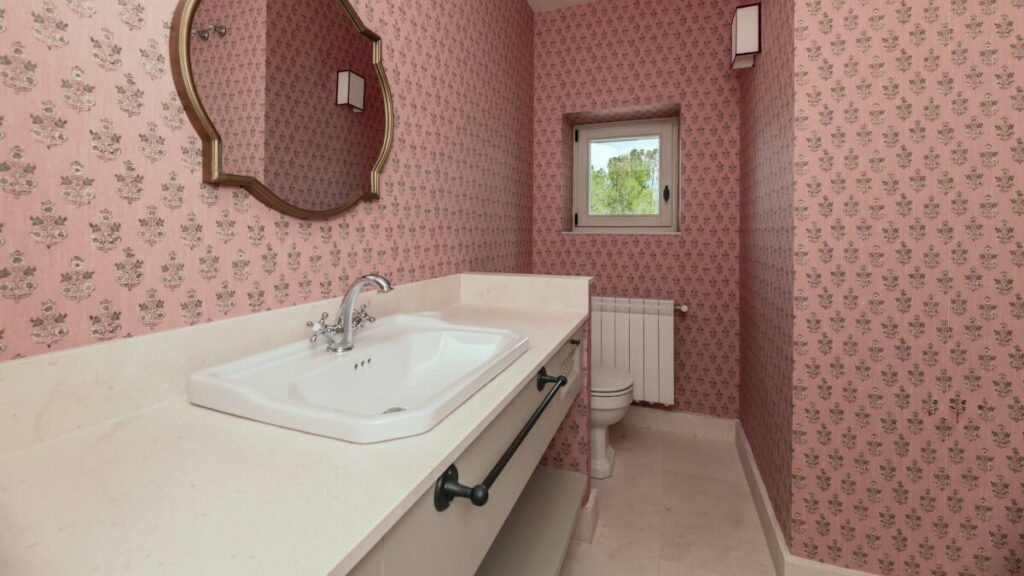
- Full walls in cloakrooms or powder rooms (low moisture exposure)
- Feature walls opposite showers (if well-ventilated)
- Upper sections of walls with a dado rail below (classic period solution)
High-Risk Zones to Avoid
- Directly behind shower heads or within 60 cm of a bath edge
- Ceilings (unless using specialist moisture-resistant lining + paper)
- Unventilated en suites with no extractor fan
Tip: Always pair wallpaper with adequate ventilation. Building Regulations Approved Document F (Ventilation) requires background or intermittent extract ventilation in all new or refurbished bathrooms.
Choosing the Right Wallpaper: 3 Types That Work
1. Vinyl-Coated Paper
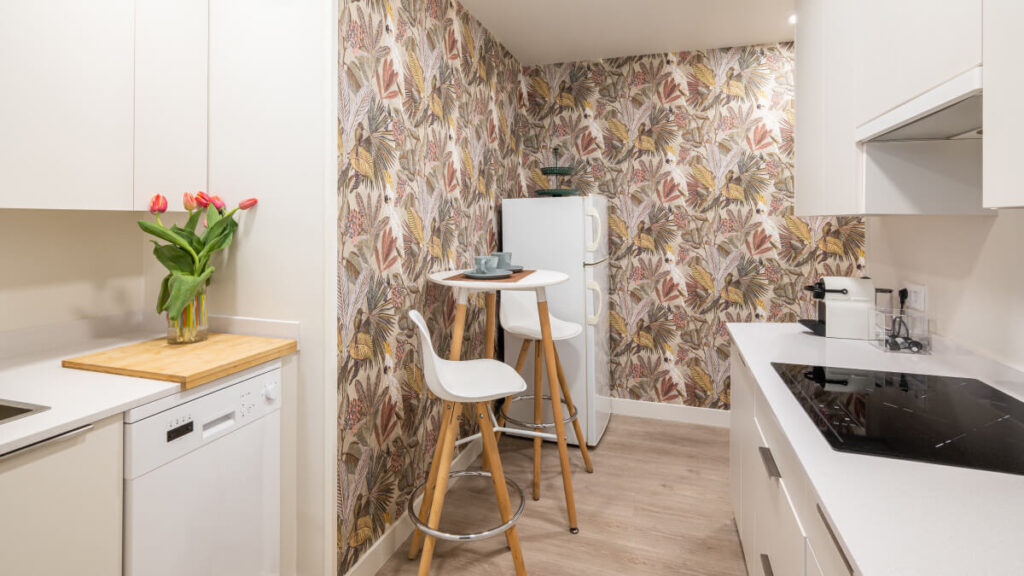
Best for: Feature walls, powder rooms, kitchen zones above worktops
The paper base combines with a thin vinyl surface that allows for easy wiping. The material allows air to flow through it while protecting against water splashes.
The two top choices among customers include Farrow & Ball’s Wipeable series and Osborne & Little’s Practical collection.
2. Solid Vinyl (Type II)
Best for: High-traffic utility rooms, downstairs loos, commercial settings
The material consists of vinyl which provides both exceptional durability and easy cleaning with mild detergent and resistance to mould development as proven by ISO 846 fungal resistance testing.
The two top product choices include Graham & Brown’s Commercial Vinyl and Muraspec’s Healthcare Grade collection.
Non-Woven with Protective Finish
Best for: Heritage homes where breathability is essential (e.g. lime-plastered walls)
Non-woven substrates expand and contract more efficiently after receiving a clear acrylic topcoat through the application of Polyvine Heavy Duty Varnish. The two top selections come from Cole & Son’s Eco line which includes sealant products.
Avoid: Uncoated paper-backed wallpapers, fabric-backed silks (unless sealed), and peel-and-stick options-they are not designed to withstand humidity.
The Surrey Painters’ 5-Step Wet-Room Wallpapering Process
Our method ensures longevity-even in the steamiest of Surrey bathrooms:
1. Surface Assessment & Prep
The team uses tests to determine if water currently seeps into walls through damaged sealants and grout cracks. The installation process starts after all dampness has been cleared. Walls undergo cleaning and sanding before applying a mould-resistant primer called Zinsser Watertite for priming.
2. Edge Sealing
All cut edges—especially at skirting, ceiling, and around sockets—are brushed with clear PVA sealant to prevent capillary moisture absorption.
3. Adhesive Choice
The team uses vinyl-specific paste with fungicide (e.g. Solvite Vinyl Over Vinyl) but never standard paper paste.
4. Strategic Hanging
- After placing the seams together the installer uses a seam roller to press for optimal adhesion.
- Materials need 0.5 mm spacing at corners to handle their natural expansion during humidity level changes.
- We use a sharp Olfa knife to make clean cuts near fixtures without creating unnecessary tension.
5. Post-Installation Seal (Optional but Recommended)
For high-splash protection we apply a matte acrylic varnish to keep walls protected without visible yellowing.
Watch our complete approach in action by observing the work done by our professional wallpaper hangers in London and Surrey.
Pairing Wallpaper with Other Services for a Cohesive Finish
The function of wallpaper as a decorative element maintains its effectiveness when combined with other design elements. Wallpaper functions as a decorative element within a more extensive design approach.
- A dramatic effect results when using freshly painted sash frames in wood tone finish together with wallpaper.
- A visual harmony is created between ceiling and cornice elements through the restoration process which involves painting the ceiling white with breathable limewash or microporous paint.
- A unified design scheme emerges through the process of coordinating wallpaper with painted kitchen units and bathroom vanities to update cabinets and trim.
Common Mistakes to Avoid
- The use of lining paper on older plaster decreases paste absorption and prevents seams from lifting.
- The bathroom extractor must operate for 48 hours after decoration to eliminate remaining moisture before installation.
- When you fail to create expansion gaps between materials they cause wood and plaster to shift which generates cracks along rigid seams.
- To clean your surfaces you need to avoid using bleach as well as abrasive pads because pH-neutral cleaners and soft cloths are the recommended cleaning agents.
Final Thought: Wallpaper Adds Soul—Without the Sacrifice
The sterile combination of tiles and flat paint lacks personality but wallpaper brings texture and storytelling and happiness to these ordinary spaces. Your bathroom and kitchen will become functional spaces that express your style when you choose the right materials and receive expert installation.
The team at Surrey Painters offers wallpaper installation services that focus on creating wallpapers suitable for actual usage scenarios.
Contact us today for a free consultation. Provide your room measurements along with design photos to receive expert advice about moisture-resistant wallpaper options and prep work and cost estimates.