In this article
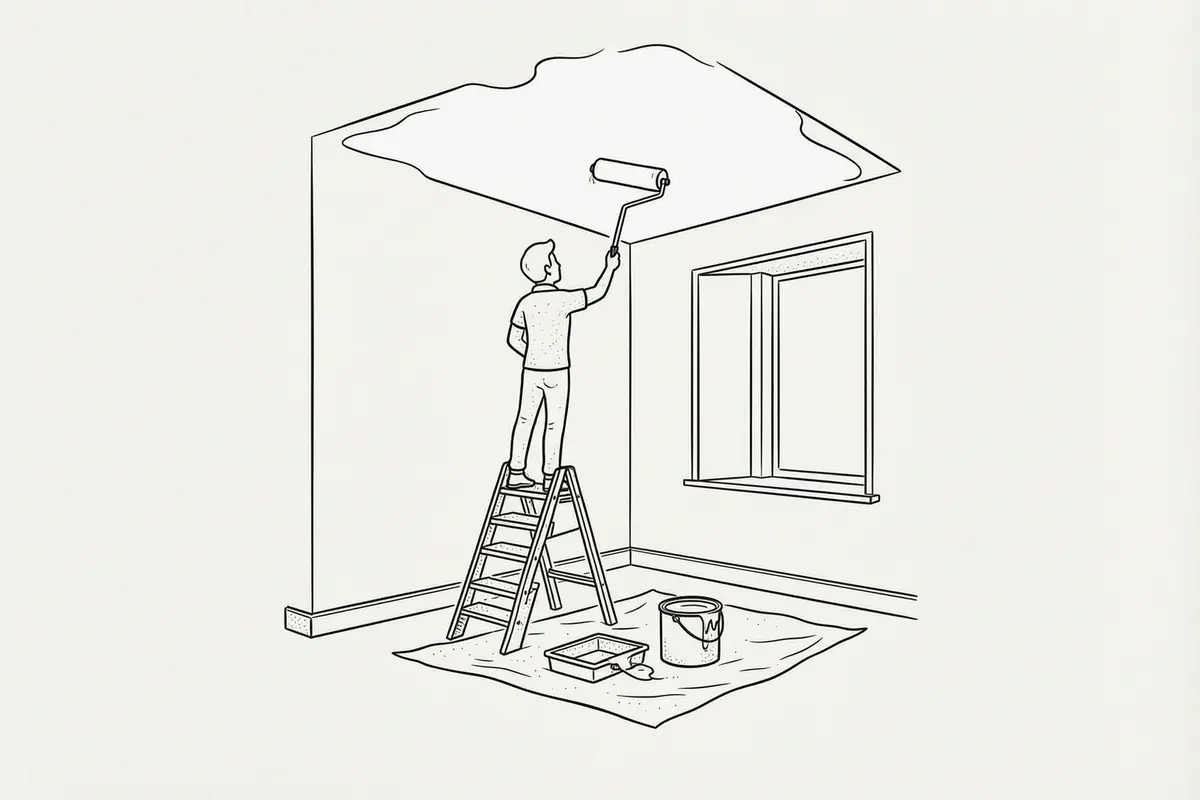
A ceiling is the one surface you see in full, from a low angle, in raking light, so every overlap and dull patch shows. Roller marks and flashing are not bad luck; they come from a handful of avoidable decisions — the wrong sleeve, a lost wet edge, a filled patch left unprimed, or a final pass rolled the wrong way across the window.
The plain rule: fill and spot-prime every repair, cut in the edges first, then roll the field with a medium-pile sleeve, keeping a wet edge and finishing each pass toward the light — two thin coats, never one thick one.
Why ceilings flash and streak
Three things cause the marks people call flashing.
- A filled patch painted straight over. Bare filler soaks up paint differently to the surrounding surface, so it dries duller and shows as a shadow even under several coats. Spot-prime every repair before the topcoats go on.
- A lost wet edge. Rolling back into paint that has begun to dry leaves a lap line where the two films meet at different thicknesses.
- Sheen. A paint with any gloss to it catches the light unevenly across overlaps, which is why ceilings are painted in a flat matt, never a silk or eggshell. Repainting over an existing silk ceiling means sanding it lightly to dull the sheen and giving it a mist coat or primer first, or the new matt coat will not key and will flash.
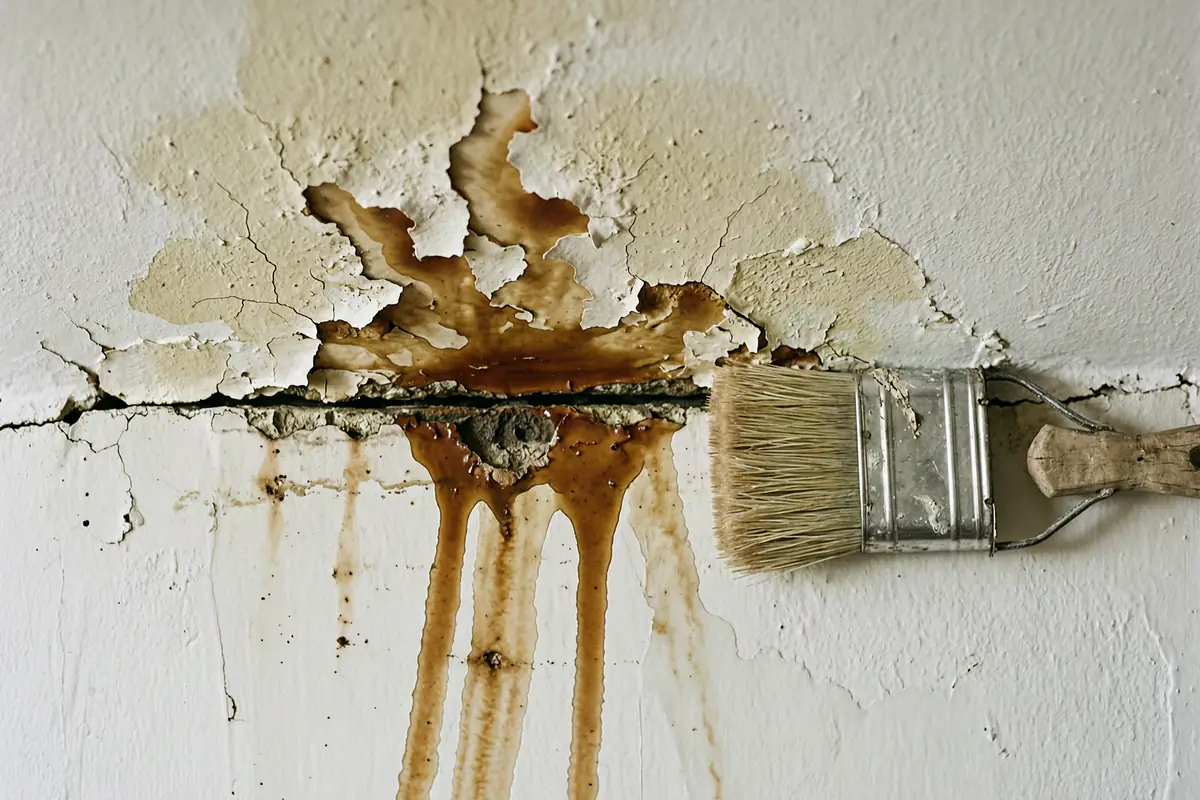
A brown or yellow patch is different again: a stain bleeding through from above, usually a leak or an old nicotine mark, and no number of emulsion coats will cover it. It needs a shellac-based stain block first, and if it is a leak, the source fixed before you paint at all.
The method, step by step
When we paint a ceiling, we work to a fixed sequence, and the order is what keeps the finish even. These steps are the whole job.
Step 1 — Clear, protect and wash down
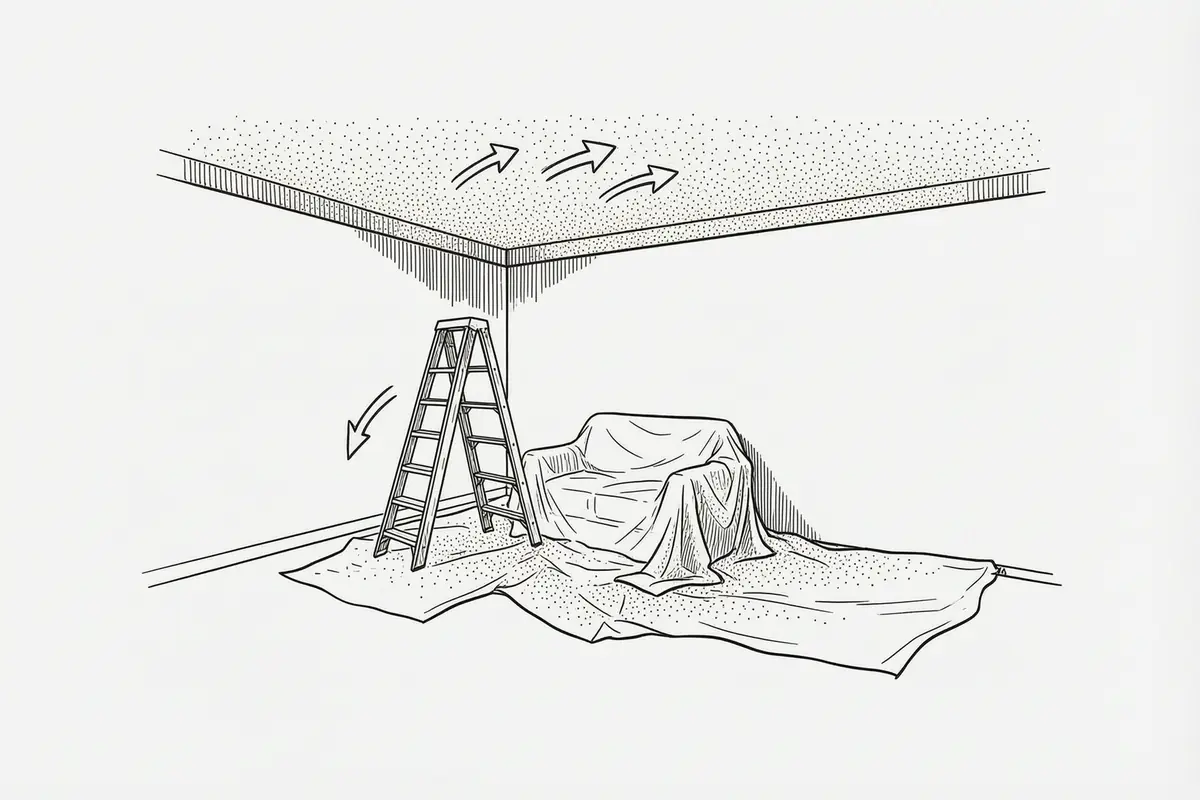
Move the furniture to the centre of the room and cover it, then run dust sheets across the whole floor, because paint off a ceiling travels further than you expect. Take down or cover light fittings and loosen the ceiling rose if you can, and wash the ceiling with sugar soap and a sponge, rinsing it clean — a ceiling carries grease and dust, especially in kitchens, and paint will not bond to it. It is ready when the surface is dry and every fitting is masked or removed.
Step 2 — Fill and spot-prime the repairs
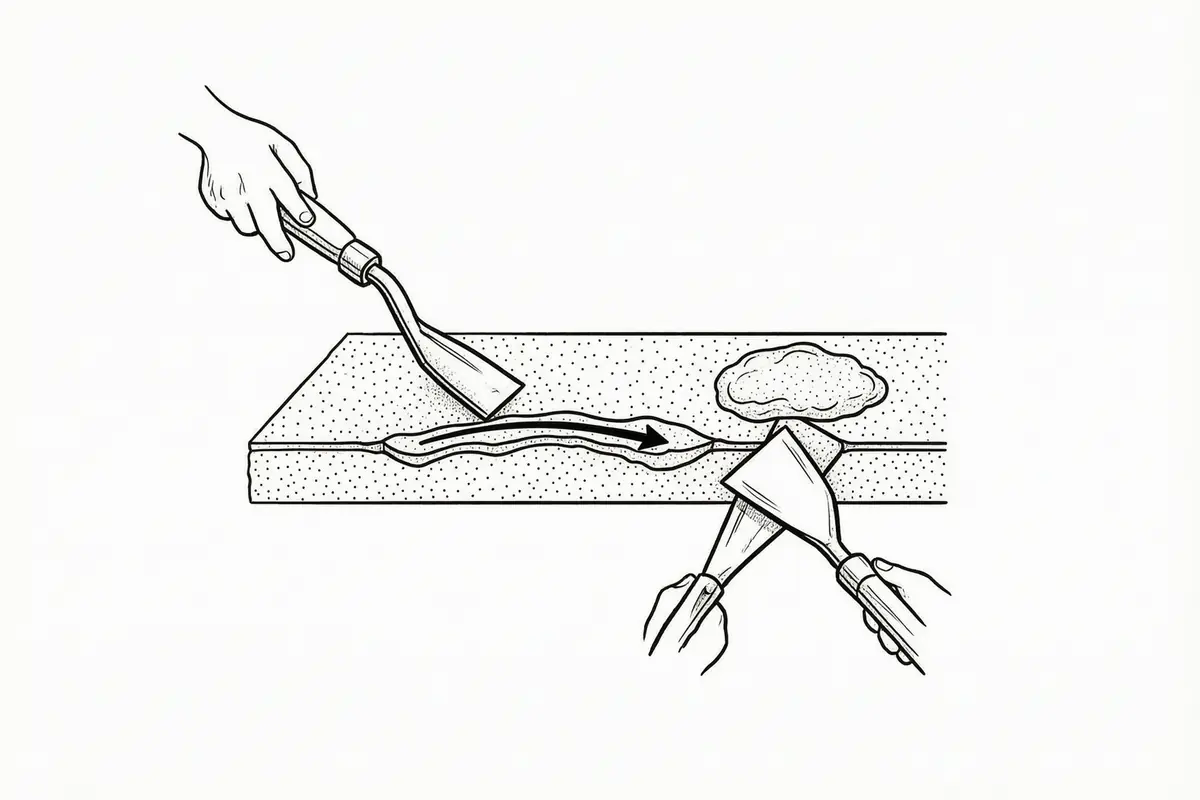
Rake out any cracks with the corner of a filling knife so the filler has something to hold, press a fine filler in slightly proud, and sand it flush once it has hardened. Apply a shellac stain block to any brown or yellow stain before you spot-prime, and let it dry — it is the only thing that stops the stain bleeding back through. Then spot-prime every filled patch and any bare plaster with a thinned coat of the ceiling paint. This is the step that stops a ceiling flashing where it was repaired — unprimed filler dries duller than the paint around it and shows through every topcoat. On a tired ceiling this stage can take most of a morning, and it is the part you cannot skip.
Step 3 — Cut in the edges
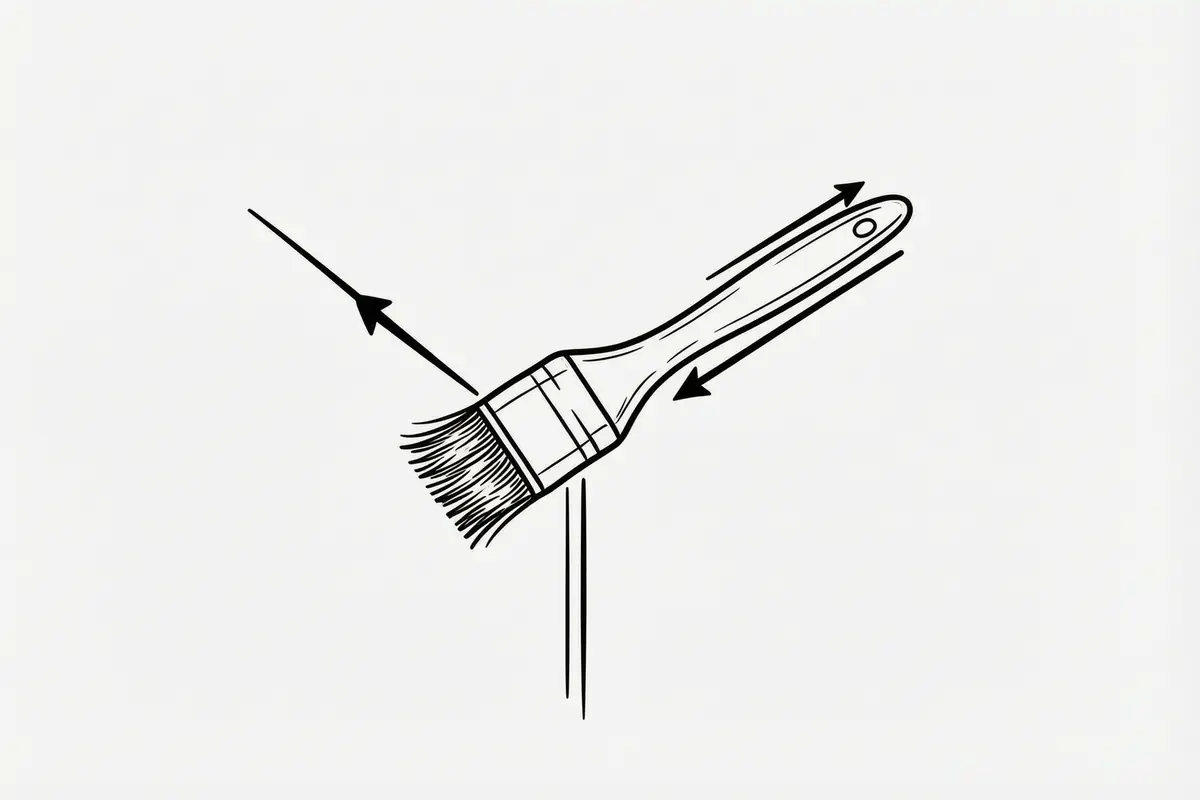
Run a band of paint around the whole perimeter where the ceiling meets the wall, using a 2-inch angled brush in short, steady strokes. Cut in about 50 to 75 millimetres out from the corner, so the roller has a soft edge to blend into rather than a hard line. If your hand is less steady, or the wall colour is different, run low-tack masking tape along the wall tops first and peel it off while the band is still wet. Do the whole room before you roll, and keep the band wet: if it dries first, you get a visible frame around the ceiling. It is right when the band is an even, unbroken line with no brush ridges.
Step 4 — Roll the field, keeping a wet edge
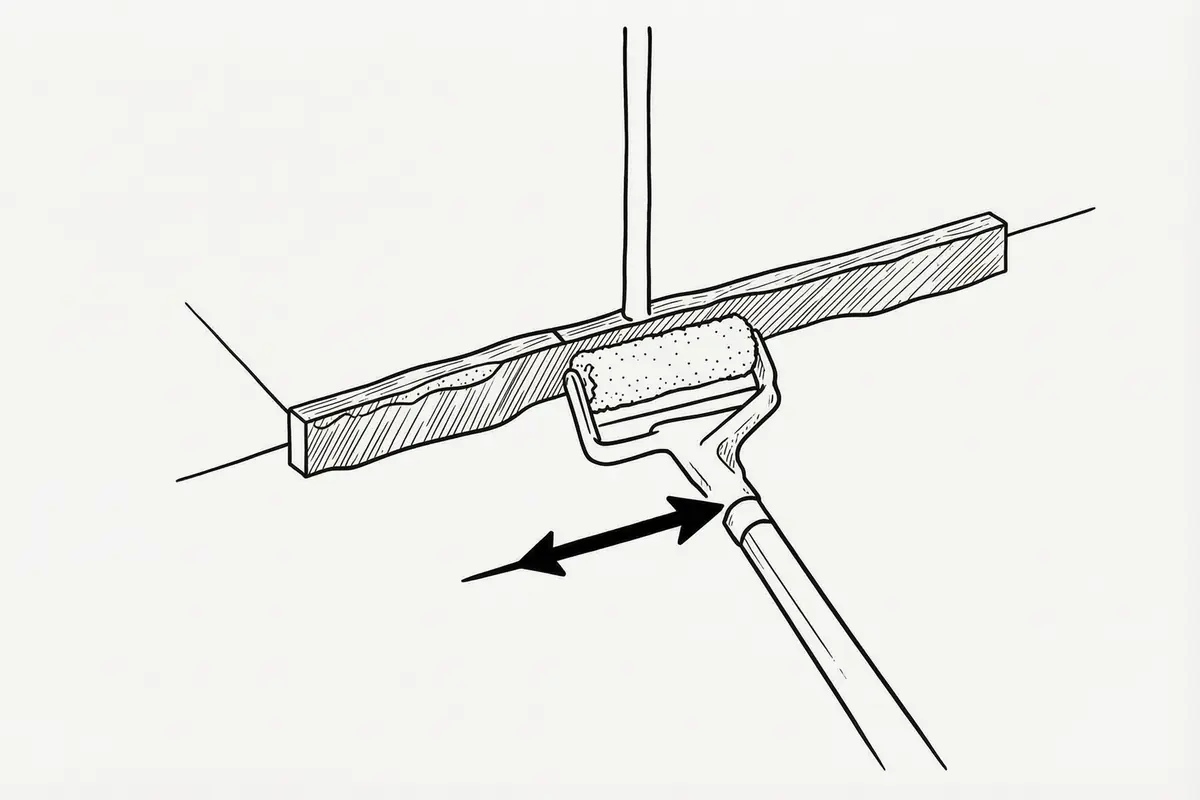
Load a medium-pile sleeve evenly and roll the ceiling in strips about a metre wide, working from one edge across. Overlap each new strip into the wet edge of the last one by a third, and do not go back over paint that has begun to dry — that is where lap marks come from. Keep the roller loaded rather than pressing it dry, and finish each strip with a light, even pass in one direction. Work steadily so the whole ceiling stays open.
Step 5 — The second coat, across the light
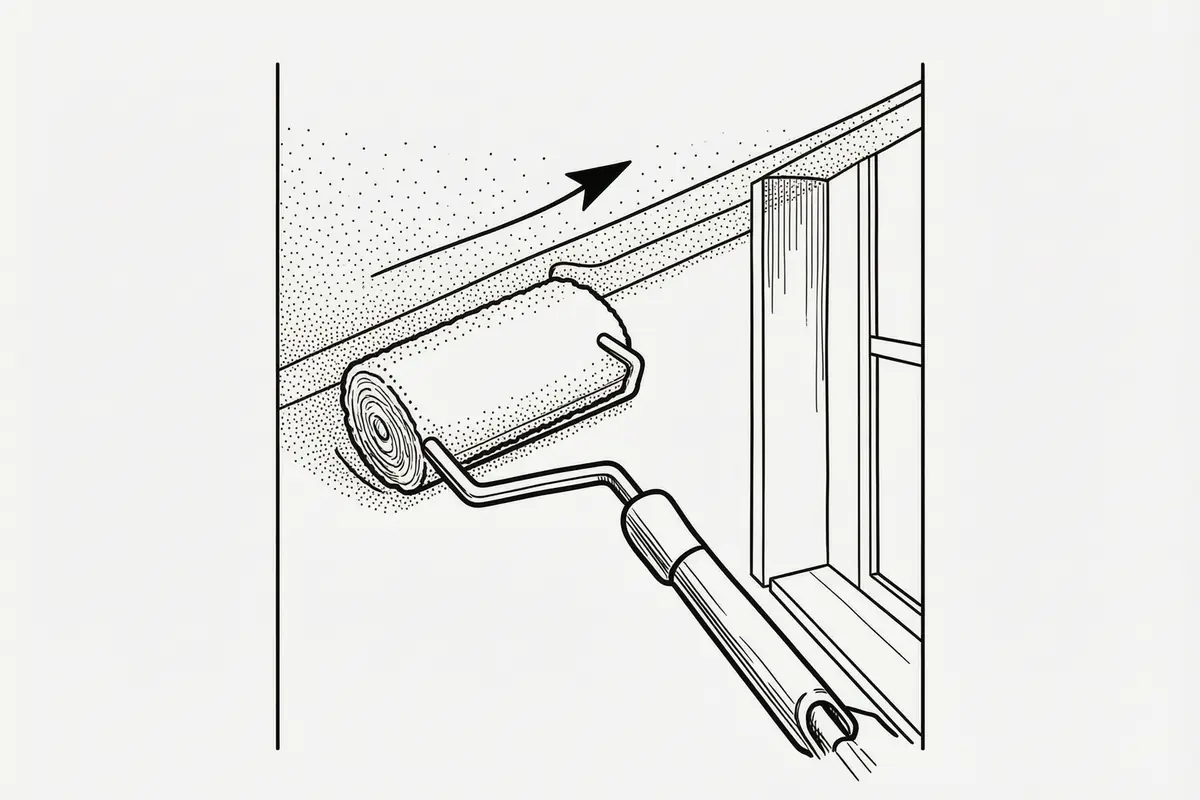
Let the first coat dry for the time on the tin, then roll the second coat the same way, but finish every strip with a final pass running toward the main window. We do not cross-hatch — running the second coat perpendicular to the first — because alternating the texture in two directions can leave a visible weave; one consistent direction is easier to keep even. Rolling toward the light lines up any slight texture with the way you look at it, hiding it, where rolling across the light makes every overlap read as a shadow. Two thin coats beat one thick one. Before the paint dries, shine a work light across the ceiling at a low angle and look back toward the window — any lap or dull patch shows as a shadow and can still be rolled out while the paint is open. It is done when the ceiling looks the same from every angle.
Choosing the sleeve
The sleeve is where most ceiling marks are made. Some guides recommend a short pile of 5 to 10 millimetres for a smooth ceiling, and on flat, well-sealed plasterboard that can work. But a short pile holds little paint, so it runs dry quickly and forces you to press, leaving thin, streaky lines; a long pile lays down too much texture. For the ceilings we see — older, slightly open plaster as much as new board — we use a medium pile, around 9 to 12 millimetres, on a woven or microfibre sleeve, which keeps the edge wet without stippling the surface.
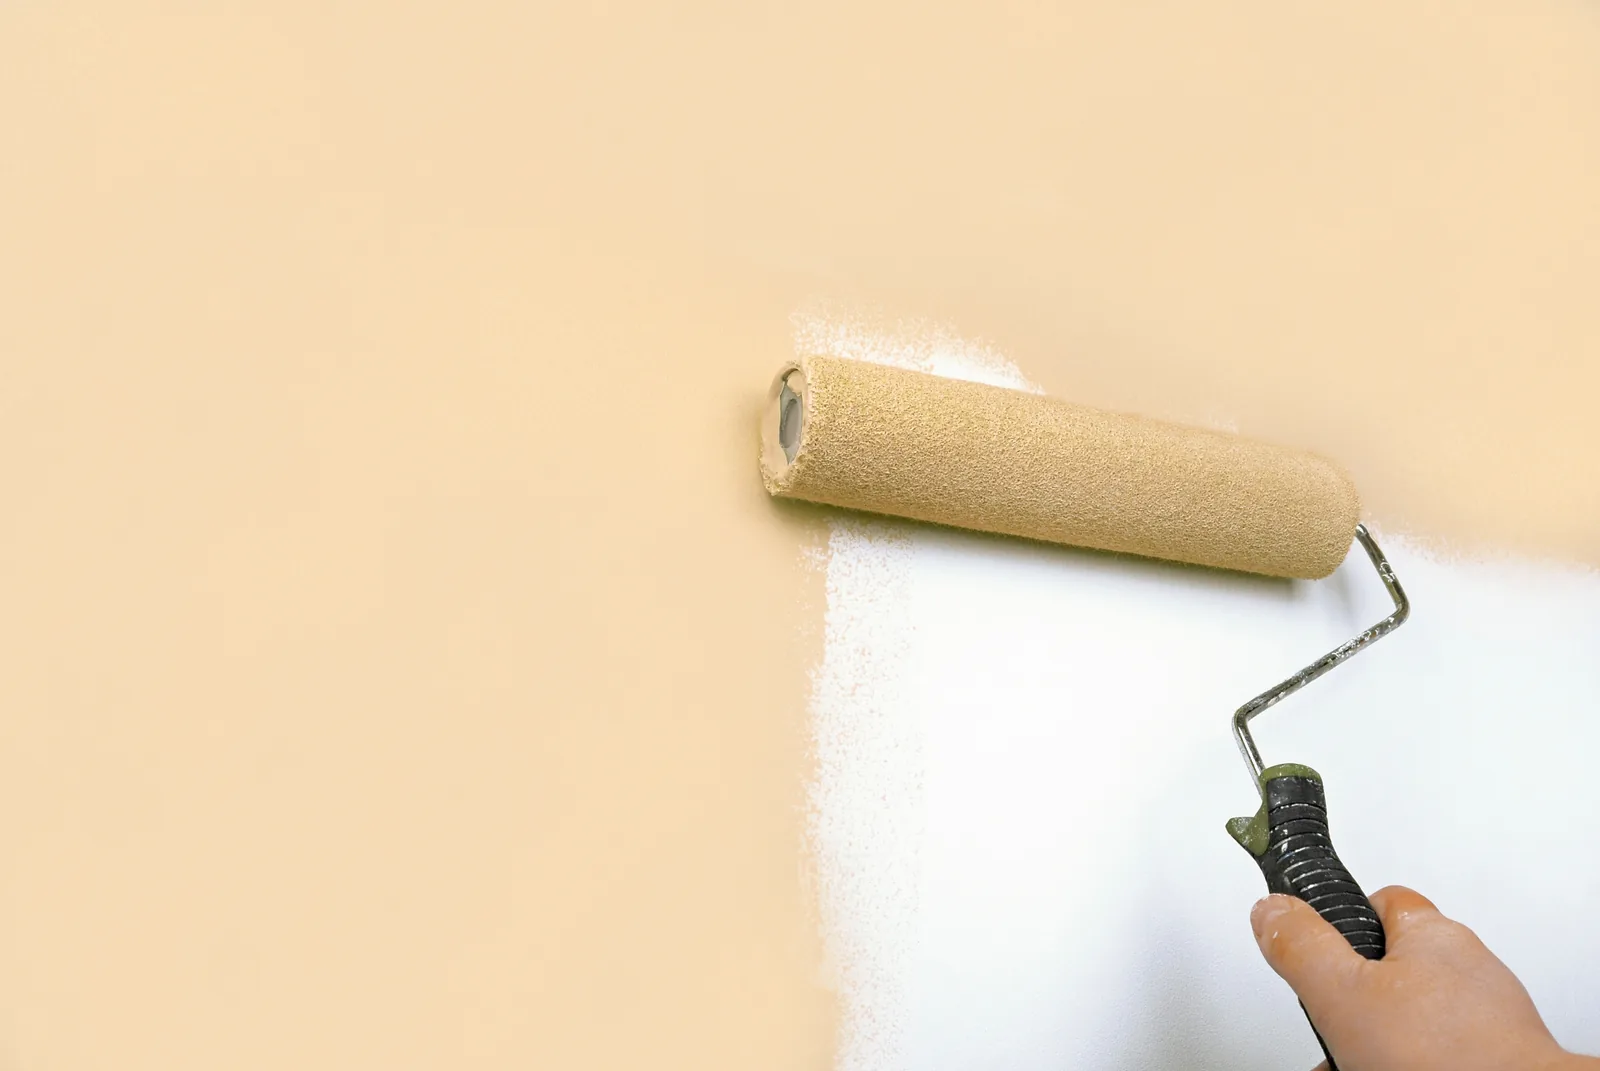
Wash a new sleeve before first use and pick off any loose fibres, because a stray hair left in the film dries as a raised line you will see for years. Use an extension pole so you can roll from the floor in long, even strokes rather than reaching from a ladder — the steadier the pass, the cleaner the finish.
The paint and the finish
Use a paint made for ceilings: a flat, dead-matt emulsion, not a wall silk or eggshell, which will flash at every overlap. A good trade vinyl matt covers roughly 12 to 14 square metres per litre per coat in practice — the “up to” figure on the tin assumes a perfect surface — and is recoatable in two to four hours, so both coats usually go on in a day. On bare or new plaster, seal it first with a mist coat — the emulsion thinned with 10 to 30 per cent water — so the topcoats grip instead of peeling.
Lath-and-plaster ceilings and stained patches
Older Surrey homes — the Victorian and Edwardian terraces and semis around Guildford and Godalming — often have lath-and-plaster ceilings, and they behave differently to modern plasterboard. They flex, so hairline cracks reopen after filling unless the movement is addressed, and they should not be soaked: too much water from washing or a heavy mist coat can soften the old plaster and bring the keys away. Go gently, fill with a flexible filler, and accept that a lath ceiling may always show a faint line at the joists.
A stain on one of these ceilings means something above is leaking, and painting over it is a temporary fix. Find and stop the source first, then seal what is left with a stain block and repaint. Our guide to preparing walls for painting covers the same discipline on walls.
Spraying versus rolling in an empty house
In a furnished, occupied room, rolling is the right call — spraying needs masking on everything and is not worth it for a single ceiling. In an empty house, or a whole property redecorated before it is lived in, spraying is faster and gives a completely even film with no roller texture at all.
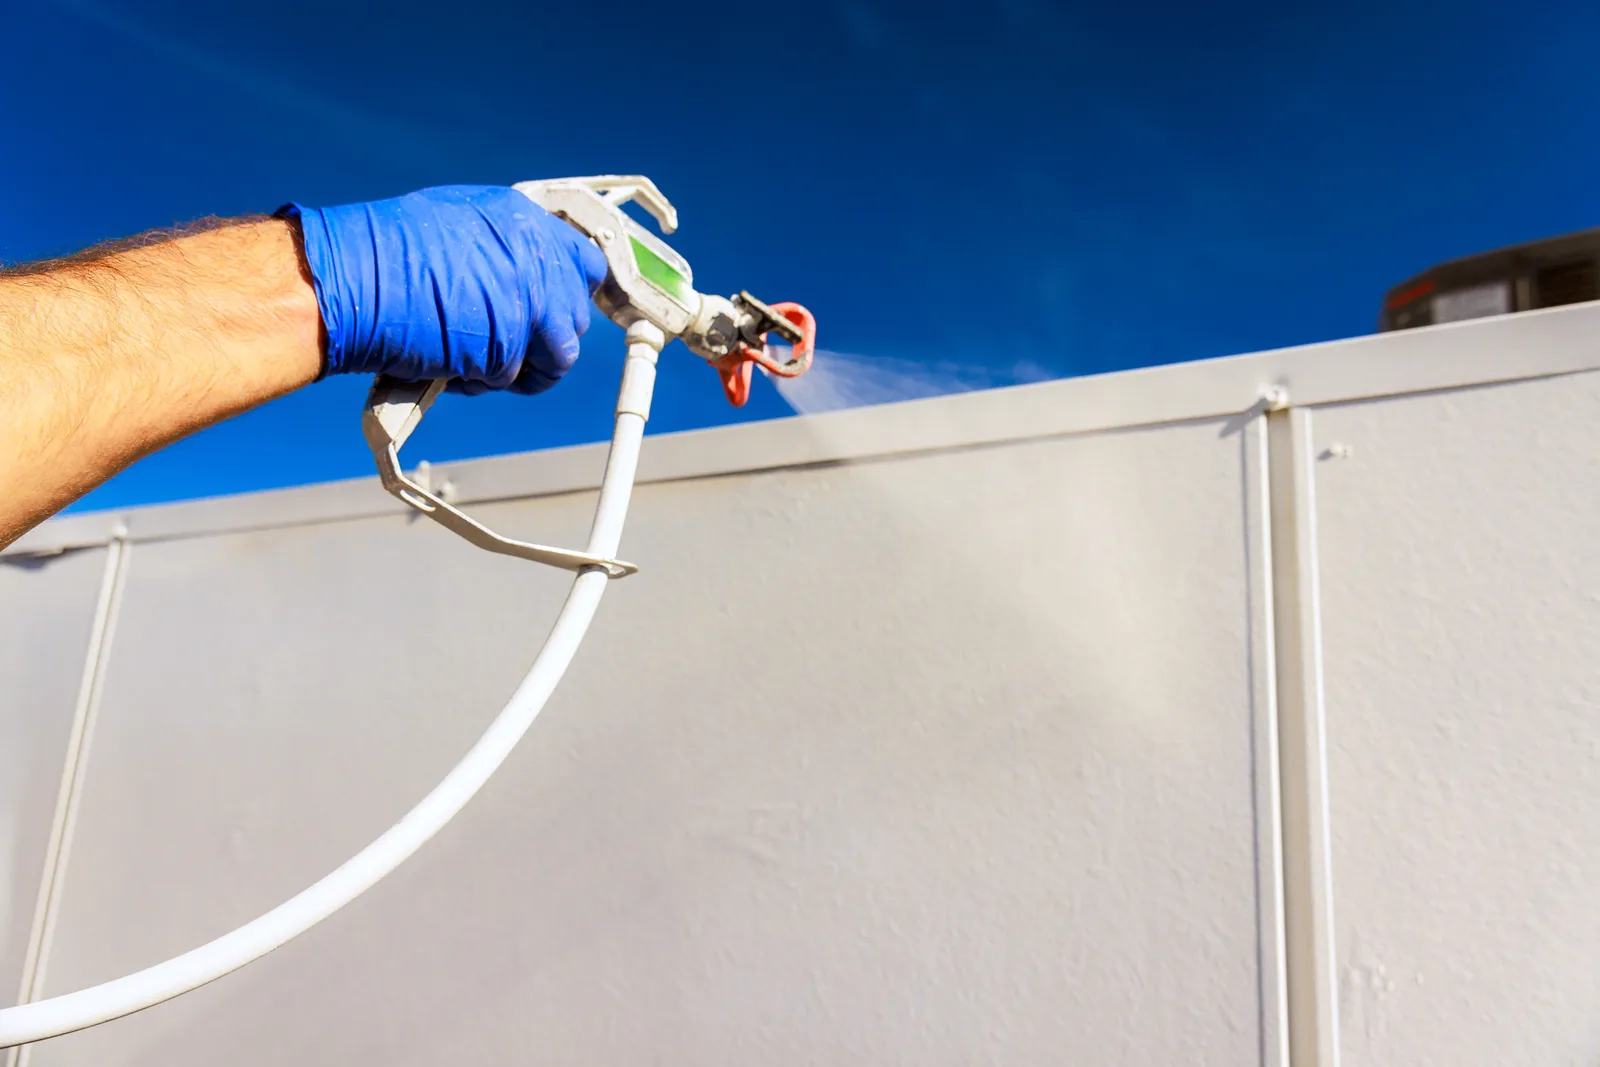
We spray ceilings when the room is empty and the rest of the job is being done around it, because the finish is flatter than any roller can lay and the dust settles before the furniture arrives. It is not a DIY job in an occupied home — the overspray and masking make it slower than rolling. Our spray painters handle that kind of work, and our interior painters roll the rest.
Frequently asked questions
Which direction should you roll a ceiling?
Finish each strip with a pass running toward the main window, or the strongest light source. Rolling toward the light lines the paint up with the direction you view it, which hides the texture; rolling across the light makes every overlap catch a shadow. Make the final pass of the second coat run toward the light.
Why does my ceiling look patchy after painting?
Almost always because a filled patch was not spot-primed, or the wet edge was lost and paint was rolled back into a drying film. Bare filler dries duller than the surrounding paint and shows through every coat, so prime every repair first. A brown patch is a stain bleeding through, which needs a shellac-based stain block rather than more paint.
What roller should I use for a smooth ceiling?
A medium-pile sleeve, around 9 to 12 millimetres, on a woven or microfibre cover. A short pile can work on a very flat, sealed plasterboard ceiling, but it runs dry quickly and forces you to press, leaving thin streaks; a long pile lays down too much texture. Wash a new sleeve and pick off loose fibres first, and use an extension pole for long, even strokes.
Does a ceiling need two coats?
Yes, in most cases. Two thin coats give an even film and an even sheen, where one coat over a colour change or a repaired ceiling leaves thin, dull patches. On previously painted ceilings in a similar colour, one coat can sometimes be enough, but two is the safe standard.
Can you paint a ceiling with a roller without marks?
You can, by keeping the whole ceiling wet as you work, overlapping each strip into the last by a third, and finishing toward the light. Roller tracks come from pressing a dry sleeve or going back over paint that has begun to dry, both avoidable with a loaded sleeve and a steady pace.